

How Heat Actually Affects Hair Structure
Hair is primarily composed of keratin - a fibrous protein arranged in tightly coiled bundles held together by hydrogen bonds and disulfide bonds. When heat is applied, hydrogen bonds temporarily break and reform as the hair cools into a new shape; this is what makes styling possible. However, repeated or excessive heat can weaken disulfide bonds and begin to degrade the keratin protein itself, resulting in structural changes that don't reverse on their own.
The outer layer of each hair strand - the cuticle - acts as a protective shield made of overlapping scales. High heat causes these scales to lift and, over time, chip away. Once the cuticle is compromised, the inner cortex (which holds moisture and gives hair its strength) becomes exposed to further environmental and mechanical stress. The result is the characteristic combination of dryness, frizz, and brittleness that most people associate with heat-damaged hair.
Cumulative damage is the key concept here. A single heat styling session rarely causes visible harm in healthy hair. It's the repeated application - particularly at high temperatures without protective measures - that erodes the hair's resilience over weeks and months. Understanding this helps reframe the goal: not to avoid heat entirely, but to manage its effects systematically.
Heat Protectant Spray or Serum
Forms a temporary protective film over the hair shaft to reduce direct thermal damage during styling.
Blow Dryer with Adjustable Heat Settings
Used to fully dry hair before flat-ironing and to set styles with lower, controlled heat.
Flat Iron or Curling Tool with Temperature Display
A tool with a precise temperature readout allows you to dial in the lowest effective setting rather than guessing.
Wide-Tooth Comb or Detangling Brush
Detangles hair before styling so the iron glides smoothly without snagging or requiring multiple passes.
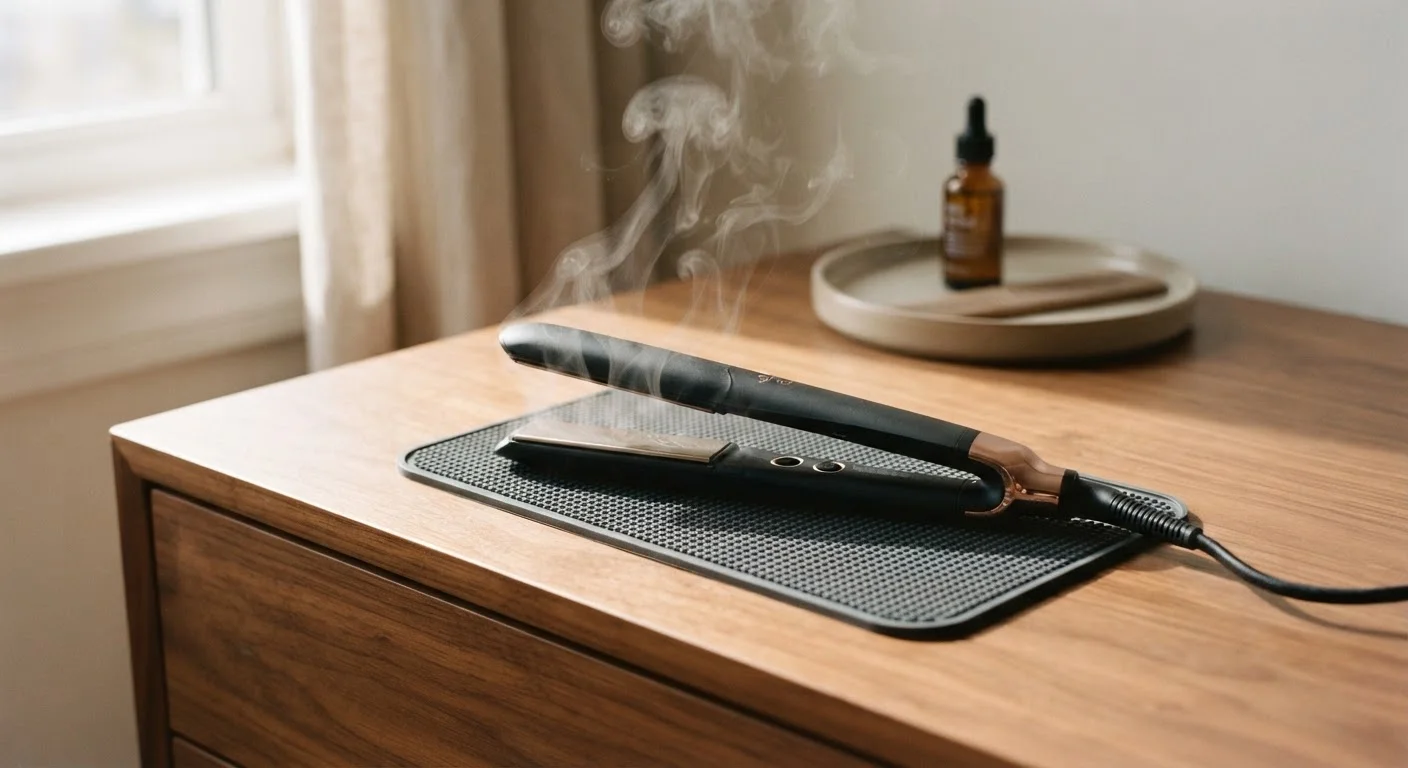
Heat-Resistant Mat
Provides a safe surface to rest hot tools, preventing surface damage and reducing burn risk.
Deep Conditioner or Hair Mask
Used in the days following heat styling to restore moisture and strengthen the hair fiber.
Step-by-Step: Heat Styling with Less Damage
The following steps reflect practices supported by general hair science principles. They apply whether you use a flat iron, a curling wand, or a blow dryer as your primary styling tool.
What you will need
Start with clean, fully detangled hair
Wash and completely dry your hair before reaching for any heat tool. Once dry, use a wide-tooth comb or detangling brush to work out any knots, starting from the ends and moving upward. Tangles force you to make multiple slow passes with a flat iron over the same section, multiplying heat exposure unnecessarily.
Apply heat protectant evenly before any heat touches your hair
Section your hair into manageable portions and apply a heat protectant spray or serum to each section while the hair is still dry. Work it through from mid-shaft to ends - where damage concentrates - then lightly over the roots if the product permits. Allow it to absorb for 30 to 60 seconds before styling; applying a tool immediately can trap product unevenly.
Set your tool to the appropriate temperature for your hair type
General guidance from hair science research suggests fine or damaged hair benefits from temperatures at or below 300°F (149°C), while thicker or coarser textures may need up to 380-400°F (193-204°C). Always start at the lower end and increase only if the style isn't holding. Using a tool with a precise digital display removes the guesswork.
If you have color-treated hair, keep in mind that the chemical process already stresses the cuticle - color-treated hair often requires lower heat thresholds and extra protective steps.
Work in small sections with smooth, continuous passes
Divide your hair into sections roughly one inch wide (thinner for very thick or coarse hair). Guide the tool steadily from root to end in one fluid motion rather than clamping and holding in one spot. A slow, smooth pass transfers heat more evenly and effectively than repeated short passes over the same area.
Finish and follow up with a light smoothing product
Once styling is complete, a small amount of a lightweight finishing oil or serum - applied to the palms and smoothed over the surface of the hair - can help seal the cuticle and add sheen without weighing hair down. Natural oils are a popular choice here; understanding their actual properties helps you choose wisely: what natural oils can and can't do for hair covers this in detail.
Restore moisture in the days following heat styling
Plan a conditioning or deep treatment session within one to two days of heat styling. Heat removes moisture from the hair fiber, and regular replenishment helps maintain elasticity - the property that prevents breakage when hair is manipulated. For guidance on choosing between a standard conditioner, a deep conditioner, and a hair mask, see understanding the differences between these three products.
Wet Hair and High Heat Don't Mix
Applying a flat iron or curling wand to hair that is still damp-even slightly-causes water inside the hair shaft to vaporize rapidly, creating internal pressure that can rupture the cuticle. Always ensure hair is fully dry before using a flat iron or curling tool. A blow dryer on medium heat is safer than pressing wet hair between hot plates.
Let Hair Rest Between Sessions
Incorporating one or two heatless styling days each week-braids, buns, or air-dried styles-gives the hair fiber time to stabilize. Pairing rest days with a good deep conditioning treatment can make a noticeable difference in how your hair holds up to regular heat styling over time. See our guide to conditioners, deep conditioners, and hair masks to find the right recovery product for your hair.
High Temperatures Aren't Always Better
Many people default to the highest heat setting assuming it delivers faster, longer-lasting results. In practice, excessively high temperatures can denature the keratin proteins that give hair its structure, leading to brittleness and breakage that builds up over weeks and months. Start lower and only increase if needed for your specific hair type.
The content on this site is for informational purposes only and is not a substitute for professional advice. Always consult a qualified professional for guidance specific to your situation.