

Summary
28 items · 30–60 minutes on-site
Why a Pre-Lease Inspection Matters
Signing an apartment lease commits you to months — often a year or more — of living in a space and paying for any damage attributed to you when you leave. The security deposit, typically one to two months' rent, is directly at risk if you cannot prove which damage existed before you moved in.
A careful walkthrough before you sign creates a paper trail that protects you. It also tells you things no listing photo will: whether the plumbing is sluggish, the windows seal properly, or the hallways smell of moisture. Spending 30 to 60 minutes inspecting methodically is one of the highest-value tasks in any rental search.
For context on how landlords are permitted to use your deposit — and what deductions courts have found unreasonable — see our guide on security deposits: what landlords can and cannot keep. And once you've completed your inspection, understanding every clause in your lease is the logical next step before you hand over a pen.
Document Before You Move Anything In
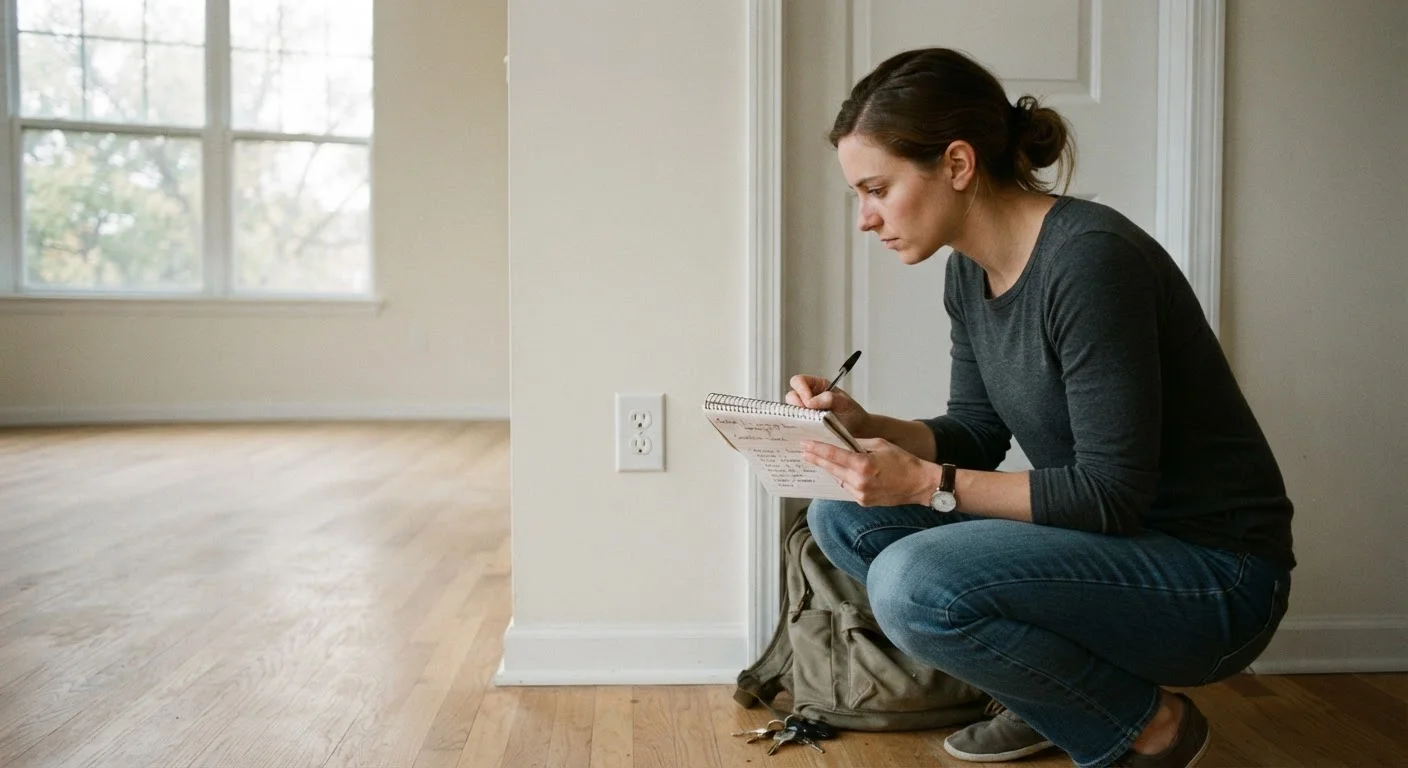
Your inspection walkthrough must happen before any of your belongings enter the unit. Once furniture, boxes, or personal items are present, establishing which damage pre-existed becomes significantly harder. Complete all photography and written documentation in an empty apartment, and confirm the date and time on every image file.
Tools and Materials to Bring
You don't need professional equipment — just a few basics that most renters overlook bringing.
Smartphone with camera
Capture timestamped photos and short videos of every defect you find during the walkthrough.
Phone charger or outlet tester
Plug into every outlet to confirm it is live — dead outlets are a common and easy-to-miss problem.
Notepad and pen
Record room-by-room observations in writing so nothing is left to memory.
Flashlight or phone torch
Illuminate dark cabinet interiors, closet corners, and under-sink areas where damage hides.
Move-in condition checklist form
A printed or digital form for systematically recording the condition of each room and surface.
Room-by-Room Inspection Checklist
Work through each area systematically. Don't rush when a landlord is present — a reputable one will expect this. Flag every concern verbally, then document it in writing regardless of what you're told will be fixed.
Entrances and Common Areas
Kitchen
Bathroom
Bedrooms and Living Areas
Walls, Floors, and Ceilings
Documentation and Sign-Off
Mold and Water Damage Require More Than a Note
If you find active mold, persistent musty odors, or ceiling stains that look recent, don't simply photograph them and move on. Ask the landlord directly about the source and what remediation has occurred. Mold in hidden areas — inside walls, under flooring — may not be visible during a walkthrough but can create serious habitability concerns. Consider whether documented water intrusion is a dealbreaker before signing, rather than a post-move-in problem to negotiate.
After the Walkthrough: Locking In Your Documentation
An inspection only protects you if you record what you find. Once you've completed the walkthrough, compile your photos and notes into a dated document — a simple PDF with timestamped images is sufficient. Send a copy to the landlord by email before or on move-in day, and keep a copy for yourself.
Ask the landlord or property manager to co-sign a move-in condition report. Many states legally require landlords to provide one; even where not required, requesting it signals that you're an organized tenant who will enforce your rights. If a landlord refuses to acknowledge pre-existing damage in writing, weigh that refusal carefully before signing.
Inspection findings can sometimes open a conversation about repairs before move-in — similar in spirit to how buyers approach negotiating after a home inspection, though your leverage as a renter is different. Finally, make sure the lease itself reflects any repair promises in writing. Our guide to reading a lease agreement without getting lost explains which sections matter most and what language deserves a second look.
This article provides general educational information for renters and is not legal advice. Tenant rights, deposit rules, and required disclosures vary by state and locality. Consult a local tenant's rights organization or licensed attorney for guidance specific to your situation.
The content on this site is for informational purposes only and is not a substitute for professional advice. Always consult a qualified professional for guidance specific to your situation.