

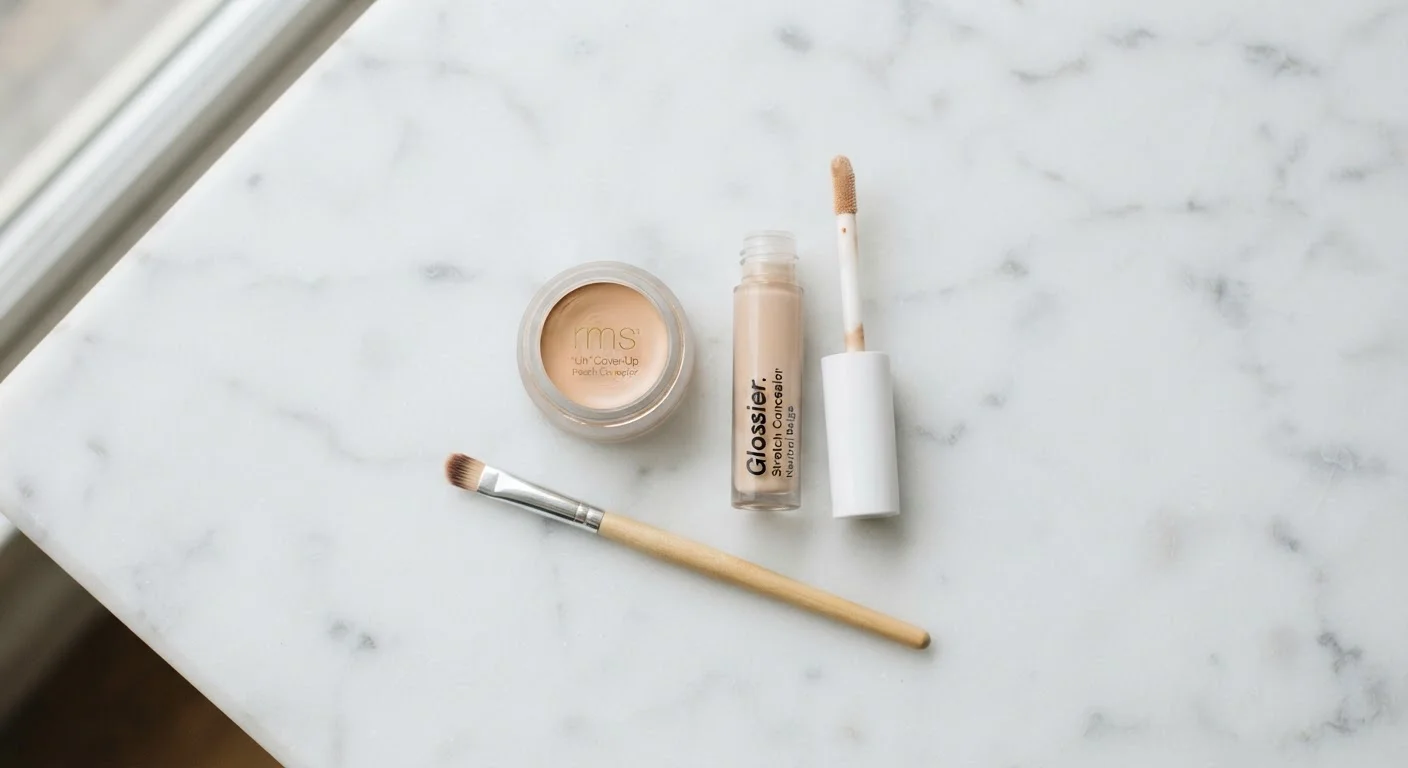
Option A
Color Corrector
The targeted neutralizer that cancels discoloration before coverage begins.
Best for: Best for counteracting specific pigment issues like dark circles, redness, or hyperpigmentation that foundation alone cannot mask.
Option B
Concealer
The everyday coverage staple that unifies and brightens skin tone.
Best for: Best for covering blemishes, minimizing shadows, and spot-concealing imperfections after a base product has been applied.
What Each Product Is Actually Designed to Do
Color correctors and concealers are routinely grouped together in the same makeup drawer, but they perform fundamentally different jobs. Mixing them up - or skipping one when you actually need it - is one of the most common reasons coverage looks heavy or uneven.
A color corrector works on the principle of color theory: shades that sit opposite each other on the color wheel cancel each other out. Applied in a thin layer before your base or concealer, a corrector neutralizes the unwanted pigment in the skin itself. The corrector's color is not meant to be seen; it disappears under coverage.
A concealer, by contrast, is a pigmented, skin-toned product designed to be the visible finishing layer. It adds opaque or semi-opaque coverage, blends into the surrounding skin, and is what creates the appearance of an even complexion. Think of it as the final coat of paint - the corrector is the primer underneath.
Just as understanding the difference between foundation, tinted moisturizer, and BB cream helps you build a base that actually works for your skin, knowing the corrector-concealer distinction helps you choose the right tool for each specific concern.
| Criterion | Color Corrector | Concealer |
|---|---|---|
| Primary function | Neutralizes discoloration | Adds skin-tone coverage |
| Color | Non-skin tones (green, peach, yellow, lavender) | Matches or complements skin tone |
| Application order | Before foundation and concealer | After foundation or base product |
| Visible on skin when finished | No - disappears under coverage | Yes - the final visible layer |
| Used alone | Not typically effective alone | Yes, as a standalone spot product |
| Best concerns | Dark circles, redness, hyperpigmentation | Blemishes, shadows, uneven patches |
Corrector Shade Guide: Which Color Does What
Picking the right corrector shade is non-negotiable - using the wrong one can make discoloration look worse, not better. Here is how the common shades align with skin concerns:
- Peach to orange: Counteracts blue, purple, and grey tones - most effective for dark circles on medium to deep skin tones.
- Pink to light peach: Neutralizes the same blue-grey darkness on fair to light skin tones.
- Green: Cancels red tones caused by redness, rosacea, or post-blemish marks.
- Yellow: Softens purple bruising and general sallow or uneven tones.
- Lavender or lilac: Brightens and counteracts yellowish or sallow areas, particularly on fair skin.
It is worth noting that correctors are applied in a very thin, precise layer. More product does not mean better results - over-application creates a thick base that is difficult to blend and makes subsequent coverage look cakey.
Color opposite
How correctors neutralize discoloration
Color theory - the principle that hues directly opposite on the color wheel cancel each other - is the foundational science behind corrector shades.
Step 1 of 2
Corrector's position in a layered coverage routine
Correctors are always applied before concealer and foundation; reversing this order undermines the neutralizing effect and wastes product.
How to Layer Them Correctly
Sequence matters as much as product selection. The standard order is: skincare, primer (if used), color corrector, foundation or tinted base, then concealer. Applying concealer before corrector wastes both products, since the corrector will disrupt the coverage you just built.
When applying a corrector under the eye, blend it gently into the skin using a fingertip or a small, dense brush - avoid dragging the delicate under-eye area. Let it set for a moment before layering anything on top. If you skip a foundation step, a light-coverage concealer applied directly over the corrector can work, but be especially gentle so you do not lift the corrector off.
For blemishes, apply a small dot of green corrector to active redness, tap to blend, then apply your concealer on top. Setting powder over the finished result helps everything stay in place longer.
Your application tool also affects how each product performs. Brushes, sponges, and fingers each blend differently, and this is especially relevant with correctors, where overworking the product can mix it into the skin rather than sitting on top of it. A dry brush or clean fingertip tends to give the most controlled corrector application.
If you are evaluating your overall routine and wondering which steps are truly necessary, some widely held makeup beliefs are worth questioning - including the idea that more layers always equal better coverage.
When You Probably Don't Need a Corrector
Not every skin concern requires a corrector step. If your discoloration is mild and your concealer covers it cleanly in one or two thin layers, you likely do not need the extra product. Correctors become most valuable when you find yourself layering concealer repeatedly to mask a stubborn tone - a sign the pigment underneath needs neutralizing first, not more coverage on top.
The content on this site is for informational purposes only and is not a substitute for professional advice. Always consult a qualified professional for guidance specific to your situation.