

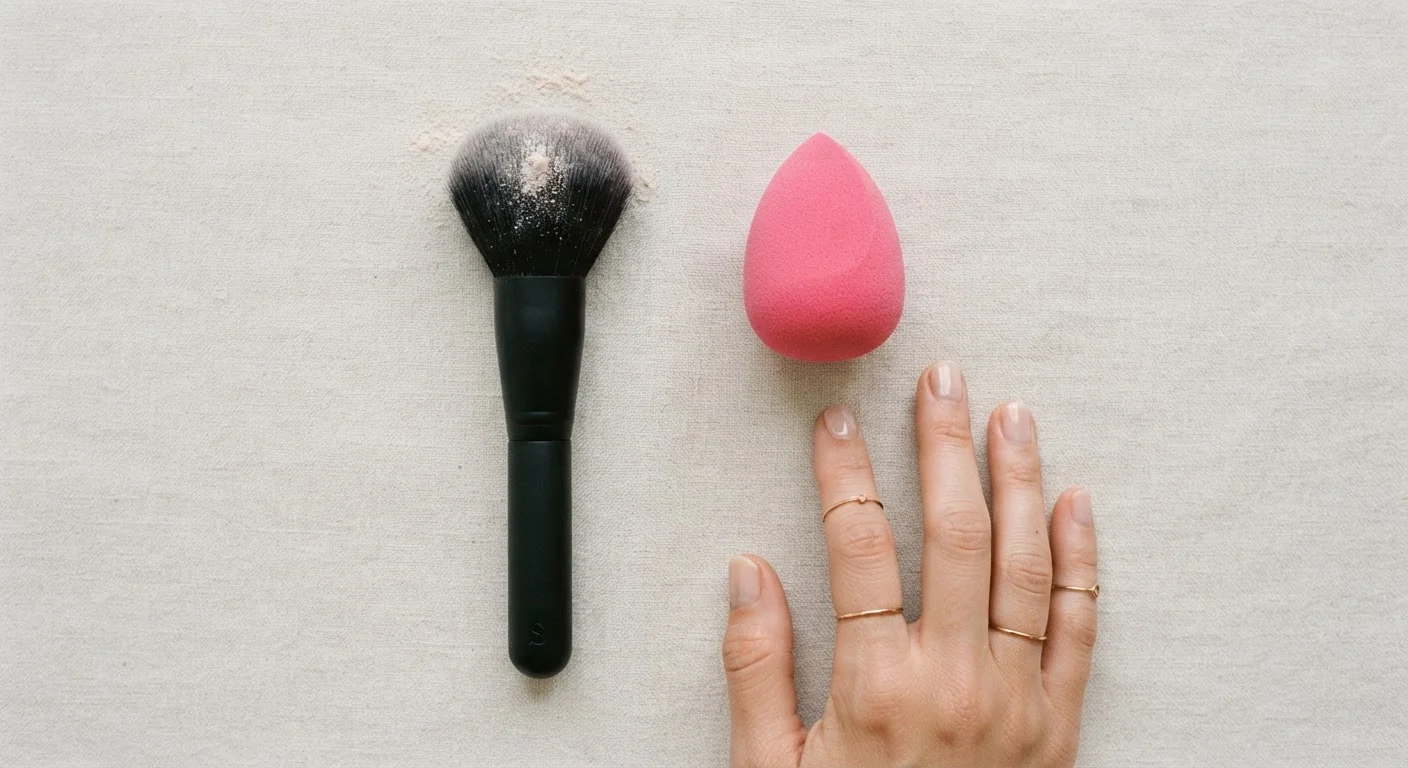
Our Verdict
Brushes, sponges, and fingers each produce genuinely different results, and the gap between them is wider than most beginners expect. Understanding what each tool does mechanically - how it deposits, distributes, and blends product - puts you in control of your finish rather than leaving it to chance. For most everyday looks, a combination of tools will outperform any single approach.
| Best for | Recommended |
|---|---|
| Precise, buildable coverage and powder application | Brush |
| Natural, blended finish with liquid or cream foundation | Damp sponge |
| Quick application of cream products and skin-warming blends | Fingers |
| Layered, polished everyday looks | Combination of tools |
Why the Tool Matters as Much as the Product
Most makeup conversations focus on formula, shade, or coverage level - but the applicator you choose is equally influential. The same foundation can look full-coverage and matte when applied with a dense brush, skin-like and luminous with a damp sponge, and sheer and natural-looking applied by hand. The product hasn't changed. The mechanical action of each tool has.
Three variables determine the outcome: how much product the tool deposits, how far it distributes that product across the skin, and how well it softens edges. Once you understand those variables for each tool, you can make intentional choices rather than guessing. For a broader picture of building your kit, see our Makeup Starter Kit guide.
Brushes: Control, Precision, and Buildable Coverage
Brushes are the most versatile category of applicator - but that versatility depends heavily on brush shape and bristle density. A dense, flat-top kabuki brush packs product onto the skin efficiently, building coverage quickly. A fluffy, domed brush disperses product more lightly, ideal for sheer washes of color or powder blending.
Synthetic bristles tend to work better with liquid and cream formulas, as they absorb less product than natural bristles and deposit more of what's on the brush onto the face. Natural-hair brushes are traditionally preferred for powder products, blending pigment smoothly without disturbing base layers beneath.
Where brushes excel is precision. Detail brushes let you target concealer under the eyes or along the nose, and flat shader brushes pack eyeshadow onto the lid with minimal fallout. The tradeoff is technique - streaking and unblended edges are common when pressure isn't evenly distributed. Blending fundamentals covers how to correct that without starting over.
| Brush | Damp Sponge | Fingers | |
|---|---|---|---|
| Best formula type | Powder; liquid (synthetic) | Liquid, cream | Cream, balm, tint |
| Coverage level | Buildable, medium to full | Light to medium, skin-like | Sheer to light |
| Finish | Matte to satin | Natural, luminous | Natural, skin-melted |
| Blending ease | Moderate - technique required | High - stippling is forgiving | Moderate - limited edge control |
| Hygiene upkeep | Weekly washing recommended | Wash after every use | Clean hands every time |
| Best for | Precision and powder work | Everyday base application | Quick cream product application |
Sponges: The Natural-Finish Workhorse
A damp makeup sponge - squeezed until it expands and no water drips from it - changes the behavior of liquid and cream products in a useful way. Because the sponge is already saturated with water, it can't absorb as much formula from the surface. Instead of soaking up your foundation, it pushes it into the skin using a stippling or bouncing motion.
The result is a finish that reads as skin-like rather than layered-on: pores aren't as magnified, the product sits on the surface instead of settling into lines, and edges blend out naturally. This makes the damp sponge particularly effective for people who want medium coverage that doesn't look like makeup.
Sponges do have limitations. They require significantly more product than brushes - some is always absorbed even when damp - and they're harder to sanitize. Replacing them every few weeks or washing them after every use is important, as damp sponges can harbor bacteria. If you're thinking about the whole application environment, our room-by-room makeup setup checklist includes tool hygiene tips.
Getting the Most from a Damp Sponge
Dampen the sponge under running water, then squeeze it firmly several times until it expands to roughly double its dry size and no longer drips. The key motion is a stippling or bouncing press - not dragging - which prevents streaks and keeps coverage even. Use the pointed tip for under-eye areas and around the nose, and the flat base for broader zones like cheeks and forehead.
Fingers: Fast, Warming, and Surprisingly Effective
Applying makeup with clean fingertips is sometimes framed as a beginner shortcut, but it's a legitimate technique with specific advantages. The warmth of your fingertips softens cream and balm formulas on contact, allowing them to melt into the skin more fluidly than a brush or sponge can achieve. Cream blush, lip and cheek tints, and skin tints often look most natural when pressed and patted in with fingers.
The drawbacks are real, though. Oils and any traces of skincare on your hands can alter formula performance, and coverage tends to be lighter than what brushes or sponges produce because fingertips don't distribute product as evenly. Hygiene matters: always start with clean hands. For formulas that interact closely with your skincare base, see how skin prep affects makeup application.
Fingers also struggle with powder products - they compress powder unevenly and can cause patchy results. Stick to liquid, cream, or balm textures for fingertip application and switch tools when layering in powders on top.
Matching Tool to Formula and Finish
The most reliable framework is to pair tool type with formula texture. Liquids and creams respond best to damp sponges or synthetic brushes. Powders perform best with natural or fluffy synthetic brushes. Creams and balms are the one category where fingers are a practical, effective choice.
Finish goals also guide the decision. If you want a matte, full-coverage result, a dense brush or a stippling technique with a sponge builds that efficiently. For a luminous, skin-forward look, the damp sponge method preserves the glow that dense brushing can flatten. For an effortless, barely-there appearance, fingers on a light cream formula are hard to beat.
Understanding how powder and liquid formulas behave differently across skin types will also help you decide which tools belong in your routine. Many people find that combining tools - a brush for initial application, a sponge to blend edges - produces results that neither tool achieves alone. That layered approach isn't overcomplicated; it's just intentional.
This article is for general informational purposes. Individual results will vary based on skin type, product formula, and application technique.
The content on this site is for informational purposes only and is not a substitute for professional advice. Always consult a qualified professional for guidance specific to your situation.