

Why a Simple Eye Look Is Worth Learning First
Eye makeup can look intimidating from the outside - tutorials often feature dramatic cut creases, multiple shadow shades, and specialized tools. But a functional everyday eye look uses far fewer steps than most people assume. Liner, shadow, and mascara, applied in the right order and with a basic understanding of technique, produce a result that is both wearable and repeatable.
Starting simple also builds real skill. Each technique you practice - blending a shadow edge, keeping a liner close to the lash line - transfers directly to more involved looks later. If you are still learning makeup vocabulary, the plain-English makeup glossary is a useful reference for terms you may encounter in tutorials and on product labels.
Before you begin, it's worth setting yourself up for success. Good lighting and organized tools are not optional extras - they directly affect how accurately you can apply and assess your work.
What you will need
Tools and Materials You Will Need
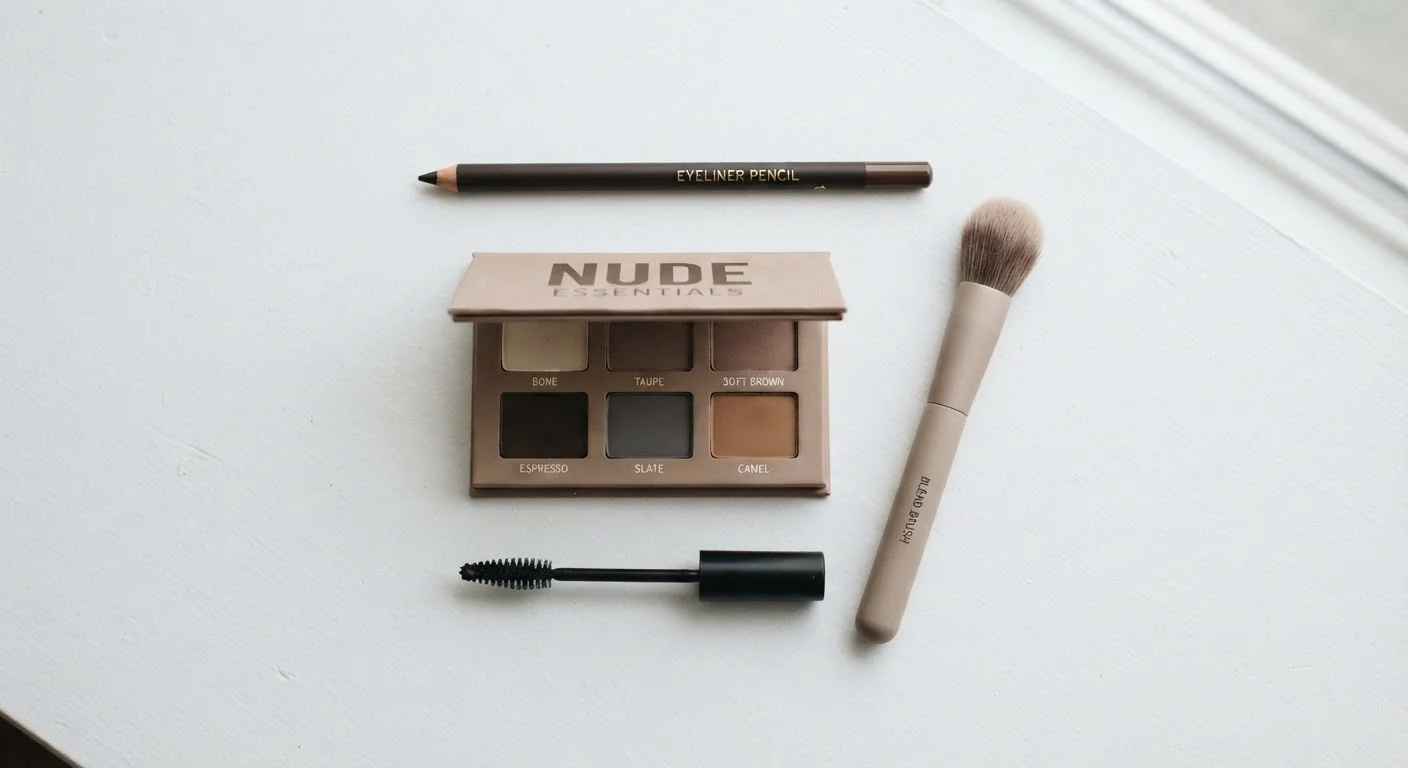
You do not need a large collection to get started. A two-brush setup - one flat shader and one fluffy blending brush - handles the majority of everyday shadow work. Liner and mascara complete the kit. Quality matters less at this stage than learning how to use what you have consistently.
Flat shader brush
Deposits eyeshadow color onto the lid with precision and control.
Fluffy blending brush
Diffuses shadow edges in the crease so transitions look seamless.
Eyeliner pencil or felt-tip liner
Defines the upper and lower lash lines to add depth and shape.
Mascara
Coats and separates lashes to open and finish the eye look.
Cotton swabs and micellar water
Clean up small smudges or fallout without disturbing surrounding makeup.
Step-by-Step: Building the Look
The steps below follow a shadow-first, liner-second sequence. This order is deliberate: applying shadow before liner means any fallout or smudging from the shadow step lands on bare skin, not on a liner you have already placed. It also allows you to use the liner to clean up and sharpen the lash line at the end.
Prep the lid
Start with a clean, moisturized eye area. If your lids tend to be oily, press a small amount of translucent powder onto them using your finger or a brush before applying any shadow. This creates a slightly grippy surface that helps pigment adhere and last longer without creasing.
Apply a matte transition shade
Load a fluffy blending brush with a matte shade one to two steps deeper than your natural skin tone - typically a soft taupe, warm tan, or light brown. Tap off any excess powder, then sweep the brush back and forth just above your natural crease using light pressure. This subtle shadow defines the orbital bone without announcing itself and forms the foundation for everything else.
Add color to the lid
Switch to a flat shader brush. Pick up a lid shade - this can be the same transition color for a monochromatic finish, a slightly lighter shimmer for dimension, or a deeper matte for more drama. Pat (do not swipe) the color onto the center of your lid and blend the edges into the transition shade using small circular strokes with the fluffy brush. Patting deposits color more efficiently and reduces fallout.
Line the upper lash line
Hold the liner at the outer corner of your upper lid and draw small, connected dashes from the outer corner inward toward the inner corner - working against the direction of the lash growth makes the line easier to control. For a natural look, stay as close to the lash root as possible. A pencil liner is the most forgiving format; felt-tip liners offer more precision once you have some practice.
Define the lower lash line (optional)
Lower liner can brighten or intensify depending on placement. For a brightening effect, apply a nude or white pencil to the lower waterline. For more definition, use your brown or black liner on the outer third of the lower lash line only - stopping at the midpoint keeps the look open rather than enclosed. Smudge gently with a cotton swab for a softer result.
Apply mascara
Place the mascara wand at the base of your upper lashes and wiggle it slightly side to side as you draw upward to the tips. This motion coats each lash from root to tip and separates them at the same time. Apply one coat, allow it to set for 30 seconds, then assess whether a second coat is needed. Finish with a single light coat on the lower lashes if desired, using the tip of the wand for control.
Blending is the skill that matters most
A perfectly blended look with basic tools will always appear more polished than a complicated look that is not blended. If you want to improve one technique, prioritize blending. Our guide to blending fundamentals breaks down the core motions that make the biggest difference.
Troubleshooting Common Issues
Shadow fallout under the eye: Tap your brush firmly against your wrist before applying to remove loose pigment. You can also complete your eye makeup before your under-eye concealer or foundation, then dust away any fallout before applying base products.
Liner smudging within an hour: This usually signals excess oil on the lid. A thin layer of translucent powder pressed onto the lid before liner application significantly improves longevity.
Mascara clumping: Let each coat dry fully before applying another. Use the tip of the wand for lower lashes, which are shorter and more prone to clumping together.
Uneven shadow blend: Use a clean, dry fluffy brush to diffuse harsh edges after the fact - this works even on dried shadow. Understanding blending technique makes this step more intuitive over time.
Never share eye makeup tools
Eye makeup products and brushes used near the waterline can harbor bacteria that cause eye infections. Do not share eyeliners, mascaras, or applicators with others. Discard mascara after three months of use regardless of how much product remains, as bacterial buildup increases with time.
If you are considering whether a full eye look fits your daily routine, a realistic look at minimal makeup routines can help you weigh the trade-offs honestly. Eye makeup also works in close relationship with brows - getting your brow shape right can amplify the effect of even the simplest eye look.
Stop use if irritation occurs
If you experience redness, itching, swelling, or any other irritation around your eyes after applying eye makeup, remove the product immediately using a gentle, fragrance-free remover and discontinue use of that product. Eye irritation and allergic reactions can escalate quickly. Consult a healthcare professional if symptoms persist or worsen.
This article is for general informational purposes only. If you experience any adverse reactions to cosmetic products, discontinue use and consult a qualified healthcare professional.
The content on this site is for informational purposes only and is not a substitute for professional advice. Always consult a qualified professional for guidance specific to your situation.