

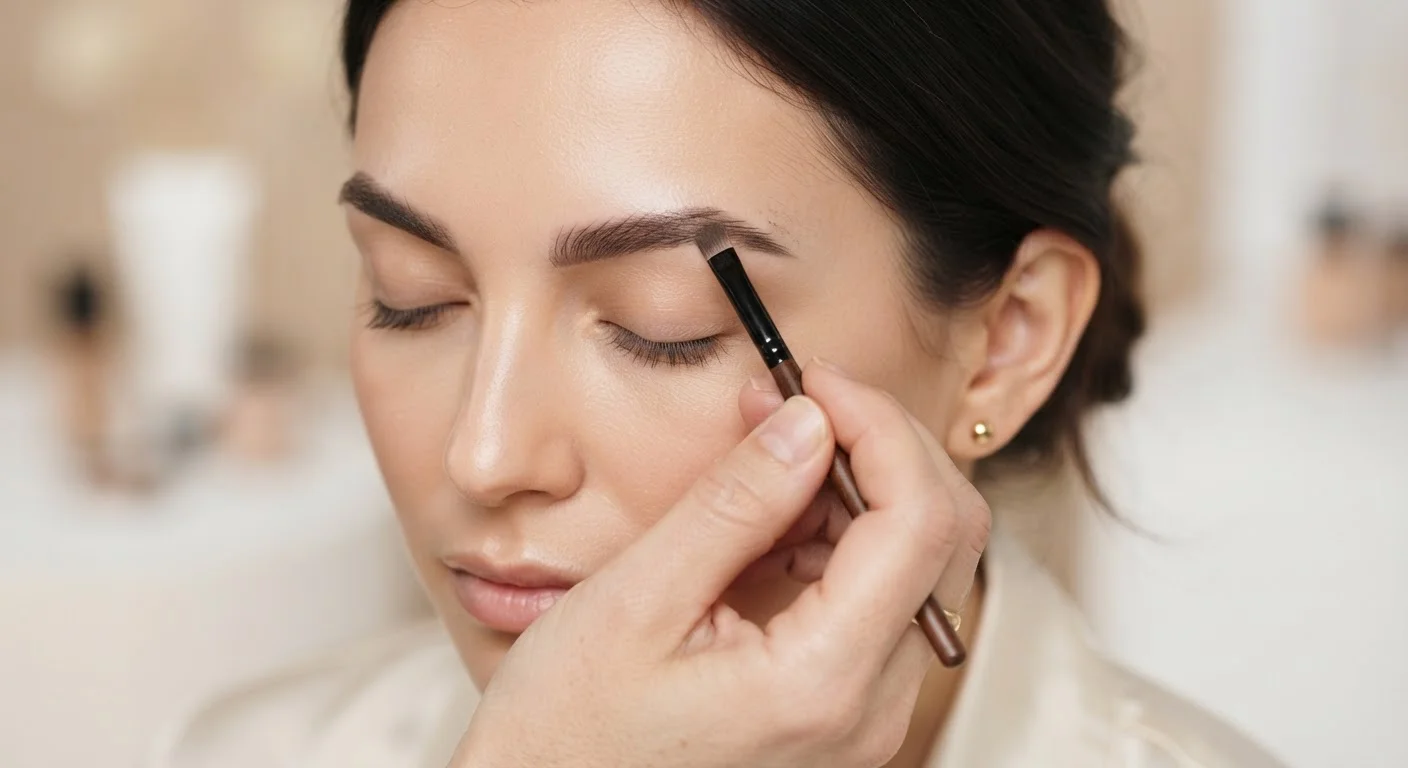
Why Eyebrows Alter the Face So Dramatically
Eyebrows are one of the face's most expressive and structurally significant features. They influence how the eyes appear in size and spacing, affect the perceived balance between the upper and lower face, and signal expression even when the face is otherwise still. Small changes - moving the arch slightly, trimming excess length, or shifting the tail - can create visible differences in how alert, rested, or symmetrical a person looks.
That influence is exactly why brow work rewards a careful approach. Rushing the shaping process or relying on a single template regardless of individual features is one of the most common sources of results that feel "off." Understanding the principles behind proportion, not just the steps, gives you reliable footing regardless of which tools or products you use.
If you're newer to makeup terminology, the Plain-English Makeup Glossary covers terms like brow mapping and arch in plain language worth reviewing first.
Brow Mapping: The Three-Point Framework
Brow mapping is the practice of identifying three key reference points before removing or adding any hair or product. It is the single most reliable way to avoid asymmetry and over-shaping.
Identify the start, arch, and end of the brow before shaping or filling
These three anchor points define the brow's structural boundaries. Without them, shaping becomes guesswork, and common errors - over-tweezed inner corners, mismatched arches - become difficult to avoid. Establishing them first takes under a minute and prevents decisions you cannot easily undo.
Use short, hair-like strokes rather than broad, sweeping fills
Hair grows in individual strands with varying direction. Mimicking that structure makes filled areas blend seamlessly with existing hair. Broad strokes create flat color that contrasts visibly with the texture of real brows.
Check symmetry at arm's length, not just up close
Small inconsistencies in arch height or tail angle are difficult to detect in close-up mirror work but are clearly visible at conversational distance. Checking from farther away gives an accurate read of how the finished brow will actually appear.
Build product intensity gradually across multiple light passes
Adding too much product in a single application is easy; removing it without disrupting the surrounding area is hard. Light passes allow you to calibrate intensity precisely and catch over-application before it sets.
Let brows grow in fully before making major shaping decisions
Reshaping over previously removed hair means working with incomplete information about the brow's natural pattern. A growth-in period reveals density, direction, and the brow's own structural logic - which often guides better decisions than following a fixed external template.
Once those points are located - using a straight edge, a thin brush, or simply a light pencil mark - they define a corridor within which filling and shaping make structural sense. Attempting to create an arch or extend a tail without first establishing these anchors is what leads to one brow ending higher than the other, or tails that drift too far outward and make eyes appear farther apart.
Filling Sparse Areas Without Losing Texture
The most visible mistake in brow filling is treating the brow as a flat shape to color in rather than a collection of individual hairs to suggest. A solid-filled brow reads as drawn-on at most conversational distances; individual hair-like strokes read as natural even when they are entirely artificial.
Start Lighter Than You Think You Need
Brow products tend to look more intense up close and under bathroom lighting than they do in daylight or at normal viewing distance. Applying with a lighter hand initially, then building, avoids the common experience of a result that looked correct at the mirror but appeared overdone in photos or outdoor light. If you're using a powder, tap off excess from the brush before each stroke.
The direction of strokes matters as much as their placement. In the inner third of the brow, hairs grow upward. Moving toward the arch and tail, they angle progressively outward and downward. Following this growth pattern - even when using powder rather than a pencil - helps the filled area blend with real hair rather than sitting on top of it.
Product intensity is worth considering separately from tool choice. Whether you use a fine-tipped pencil, an angled brush with powder, or a fiber gel, beginning with a lighter application and building in passes prevents overcorrection. A result that looks slightly too light in strong bathroom lighting often reads correctly in natural light.
3
Anchor points in the brow mapping method
The start, arch, and end points form the structural framework used by professional makeup artists and brow technicians to guide shaping decisions.
4-6 weeks
Typical brow regrowth window after shaping
Allowing brows to grow in for this period before reshaping gives a more complete picture of natural hair density and direction.
Shaping, Arch Placement, and Tail Length
Shaping decisions - what to remove, where the arch sits, and how far the tail extends - have outsized effects on expression and perceived facial structure. The arch position alone changes whether a face reads as open or dramatic; a higher, sharper arch signals intensity, while a softer, lower arch reads as more relaxed.
A broadly useful principle: the arch typically looks most balanced when it sits above the outer edge of the iris (the colored part of the eye), not directly above the pupil. This varies between individuals, and symmetry between both brows matters more than rigid adherence to any measurement.
Tail length is frequently underestimated. A tail that ends too short can make eyes appear closer together; one that extends too far downward pulls the outer corners of the face down visually. Checking the brow in a mirror at arm's length - not just close up - gives a more accurate sense of overall proportion than close examination alone.
For a complete eye area context, the everyday eye makeup guide walks through how liner and shadow interact with brow framing in a finished look.
Maintaining Shape Over Time
Brow shape is not a one-time decision - it requires periodic reassessment as hair grows back, as techniques improve, and as preferences shift. The most durable approach is to let brows grow in for several weeks before reshaping, which reveals the natural growth pattern and prevents compounding previous removal decisions.
Consistency in the tools used for upkeep also reduces variation. Tweezing is precise but slow; waxing or threading removes larger areas faster but leaves less margin for correction. Whatever method you use, removing only what clearly falls outside the mapped boundary on each occasion preserves more of the brow than removing anything that appears unruly in the moment.
Good brow work also depends on the foundation underneath. Skin that is properly prepped holds product more evenly and shows less patchiness at the brow area. The skincare prep guide outlines what matters most before any makeup application.
This article is for general informational and educational purposes only and is not a substitute for professional advice. Individual results will vary based on skin type, hair growth patterns, and technique.
The content on this site is for informational purposes only and is not a substitute for professional advice. Always consult a qualified professional for guidance specific to your situation.