

Why the Label Matters More Than the Outlet Count
It's tempting to judge a power strip by how many outlets it offers. More outlets seem to mean more flexibility — but the number of sockets tells you nothing about what the strip can safely power. A six-outlet strip and a twelve-outlet strip may carry identical electrical ratings; adding more devices to the larger one doesn't give you more capacity, it just distributes the same limit across more connections.
The specification label is where the real information lives. Understanding it takes less than five minutes once you know what each figure means, and it's the single most practical thing you can do before loading up an expensive desk setup or home theater. Our field guide to volts, watts, and amps covers the foundational electrical concepts referenced throughout these steps.
What you will need
Gather your tools before starting:
The power strip itself
Provides the specification label you will be reading — check both the label on the body and any documentation in the box.
Device chargers or manuals
Each connected device's wattage or amperage draw is needed to calculate whether your total load is within the strip's rated capacity.
Calculator or smartphone
Used to add up wattage figures and convert between amps and watts using the formula Watts = Volts × Amps.
Step-by-Step: Decoding Every Number on the Label
Work through the steps below with the strip in hand. Each step targets a specific section of the label so you build a complete picture rather than focusing on any single figure in isolation.
Locate the specification label
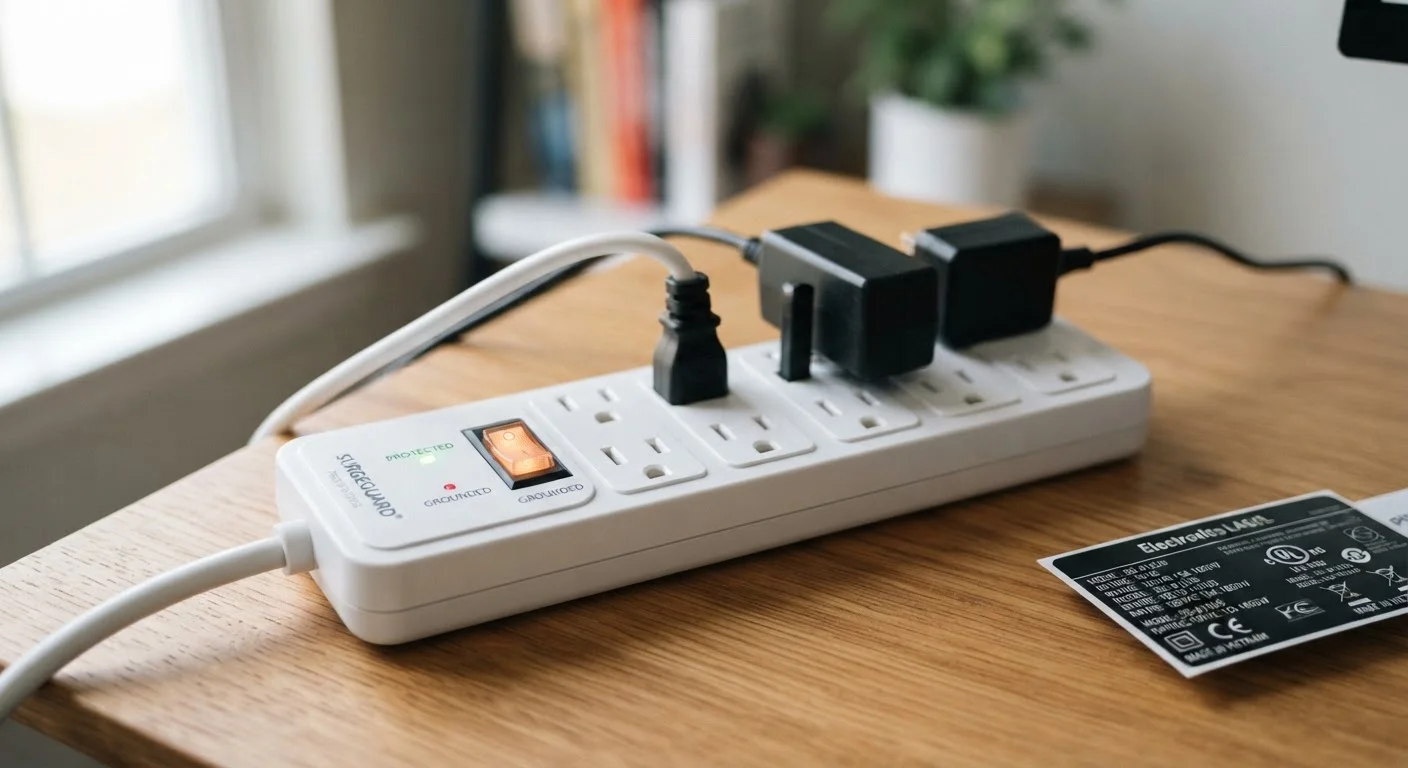
Turn the power strip over or look along its side for a printed or embossed label. This label contains nearly every figure you need. Manufacturers are required to include rated voltage, current (amperage), and total wattage at minimum. If the label is worn or absent, check the product documentation or the manufacturer's website using the model number.
Read the voltage and amperage rating
Most U.S. household power strips are rated at 125V AC and 15 amps (A). These two numbers together set the strip's maximum power capacity. Multiply them to find the wattage ceiling: 125V × 15A = 1,875 watts. This is the absolute maximum load the strip is designed to carry — and in practice, you should stay well below it to avoid sustained heat buildup. As a general guideline, aim to stay at or below 80% of rated capacity (about 1,500W for a 15A strip).
For a deeper look at how voltage and current interact, see our walkthrough of how electricity travels through your home.
Understand the joule rating (if present)
On strips marketed as surge protectors, you will see a joule rating — for example, 600J, 1,080J, or 2,400J. Joules measure the total energy the surge protector can absorb across its lifetime before the internal components (typically metal oxide varistors, or MOVs) are depleted. A higher joule rating means more cumulative protection. As a rough benchmark, 1,000J or above is generally considered appropriate for computers, televisions, and other sensitive electronics. Strips without a joule rating offer no surge protection — they are basic outlet extenders only.
Identify the circuit breaker or fuse
Many strips include a small reset button — this is the circuit breaker. It trips when current through the strip exceeds the rated amperage, cutting power to all outlets. This protects the wiring inside the strip itself. Press and release it to restore power after the overload is corrected. Note that a circuit breaker on the strip does not protect individual outlets from receiving more current than a single device can handle — it protects the strip as a whole.
Check for a safety certification mark
Look for a UL (Underwriters Laboratories) or ETL (Intertek) mark on the label. These indicate the strip has been independently tested against published safety standards. A UL or ETL listing is not a government mandate in most contexts, but it is a widely recognized indicator that the product met defined performance and safety criteria at the time of testing. Strips sold without any certification mark have not been independently verified and carry higher uncertainty. For a broader explanation of certification symbols and what they mean on device labels, see our room-by-room electronics label reference.
Calculate your total device load
With the strip's wattage ceiling in hand, add up the power draw of each device you intend to connect. Wattage is printed on device labels or charger bricks — look for a figure followed by a W. If you only see amps, multiply by the voltage (usually 120V) to get watts. Keep your total below 80% of the strip's rated maximum. High-draw appliances — space heaters, air compressors, refrigerators — should never be connected to a standard power strip; they belong directly in a wall outlet.
Use the Label's Watt Rating as Your Budget
Think of the strip's wattage limit (often printed as 1,875W for a 15A/125V strip) as a spending budget. Add up the wattage requirements of every device you plan to connect. If the total approaches or exceeds that number, redistribute devices across multiple circuits rather than pushing the strip to its limit.
Do Not Daisy-Chain Power Strips
Plugging one power strip into another — sometimes called daisy-chaining — multiplies the risk of overloading a circuit beyond what either strip is rated for. This practice violates most electrical codes and is a recognized fire hazard. Always plug a power strip directly into a wall outlet.
Surge Protectors Wear Out Over Time
The metal oxide varistors (MOVs) inside a surge protector absorb energy each time a surge occurs, and their capacity degrades with use. A strip that has absorbed one or more significant surges may show a lit indicator light but provide little actual protection. Replace surge protectors after any major electrical event, or every three to five years as a general practice.
Once you're comfortable reading power strip specs, the same skills transfer directly to understanding the labels on individual devices. Our room-by-room electronics label reference and guide to energy efficiency ratings extend that knowledge further.
The content on this site is for informational purposes only and is not a substitute for professional advice. Always consult a qualified professional for guidance specific to your situation.